browserwindowlayout
-
author: kazurayam
-
date: Nov 2023
-
repository: https://github.com/kazurayam/browserwindowlayout
Problem to solve
Often I write an automated Web UI test which opens 2 or more multiple Browser window and work on them simultaneously. The code that work on a browser window is nothing special. Adding to that, I want to manage the layout of all browser windows nicely so that the windows are properly sized and located on the display view port. Window layout management deserves a dedicated set of library. So I made this.
Solution
Selenium WebDriver provides the fundamental API to manage the position and size of a browser window.
-
WebDriver.manage().window().setPosition(position)
-
WebDriver.manage().window().setSize(dimension)
Here the position is an instance of org.opeqa.selenium.Point class, the dimension is an intance of org.openqa.selenium.Dimension class.
Provided that you could calculate the position and the dimension of a browser window, your code can locate it at the desired place. So this library helps your code to calculate the position and the dimension of the browser windows.
Description
This library support two ways of window layout:
-
Tiling layout
-
Stacking layout
Sample codes
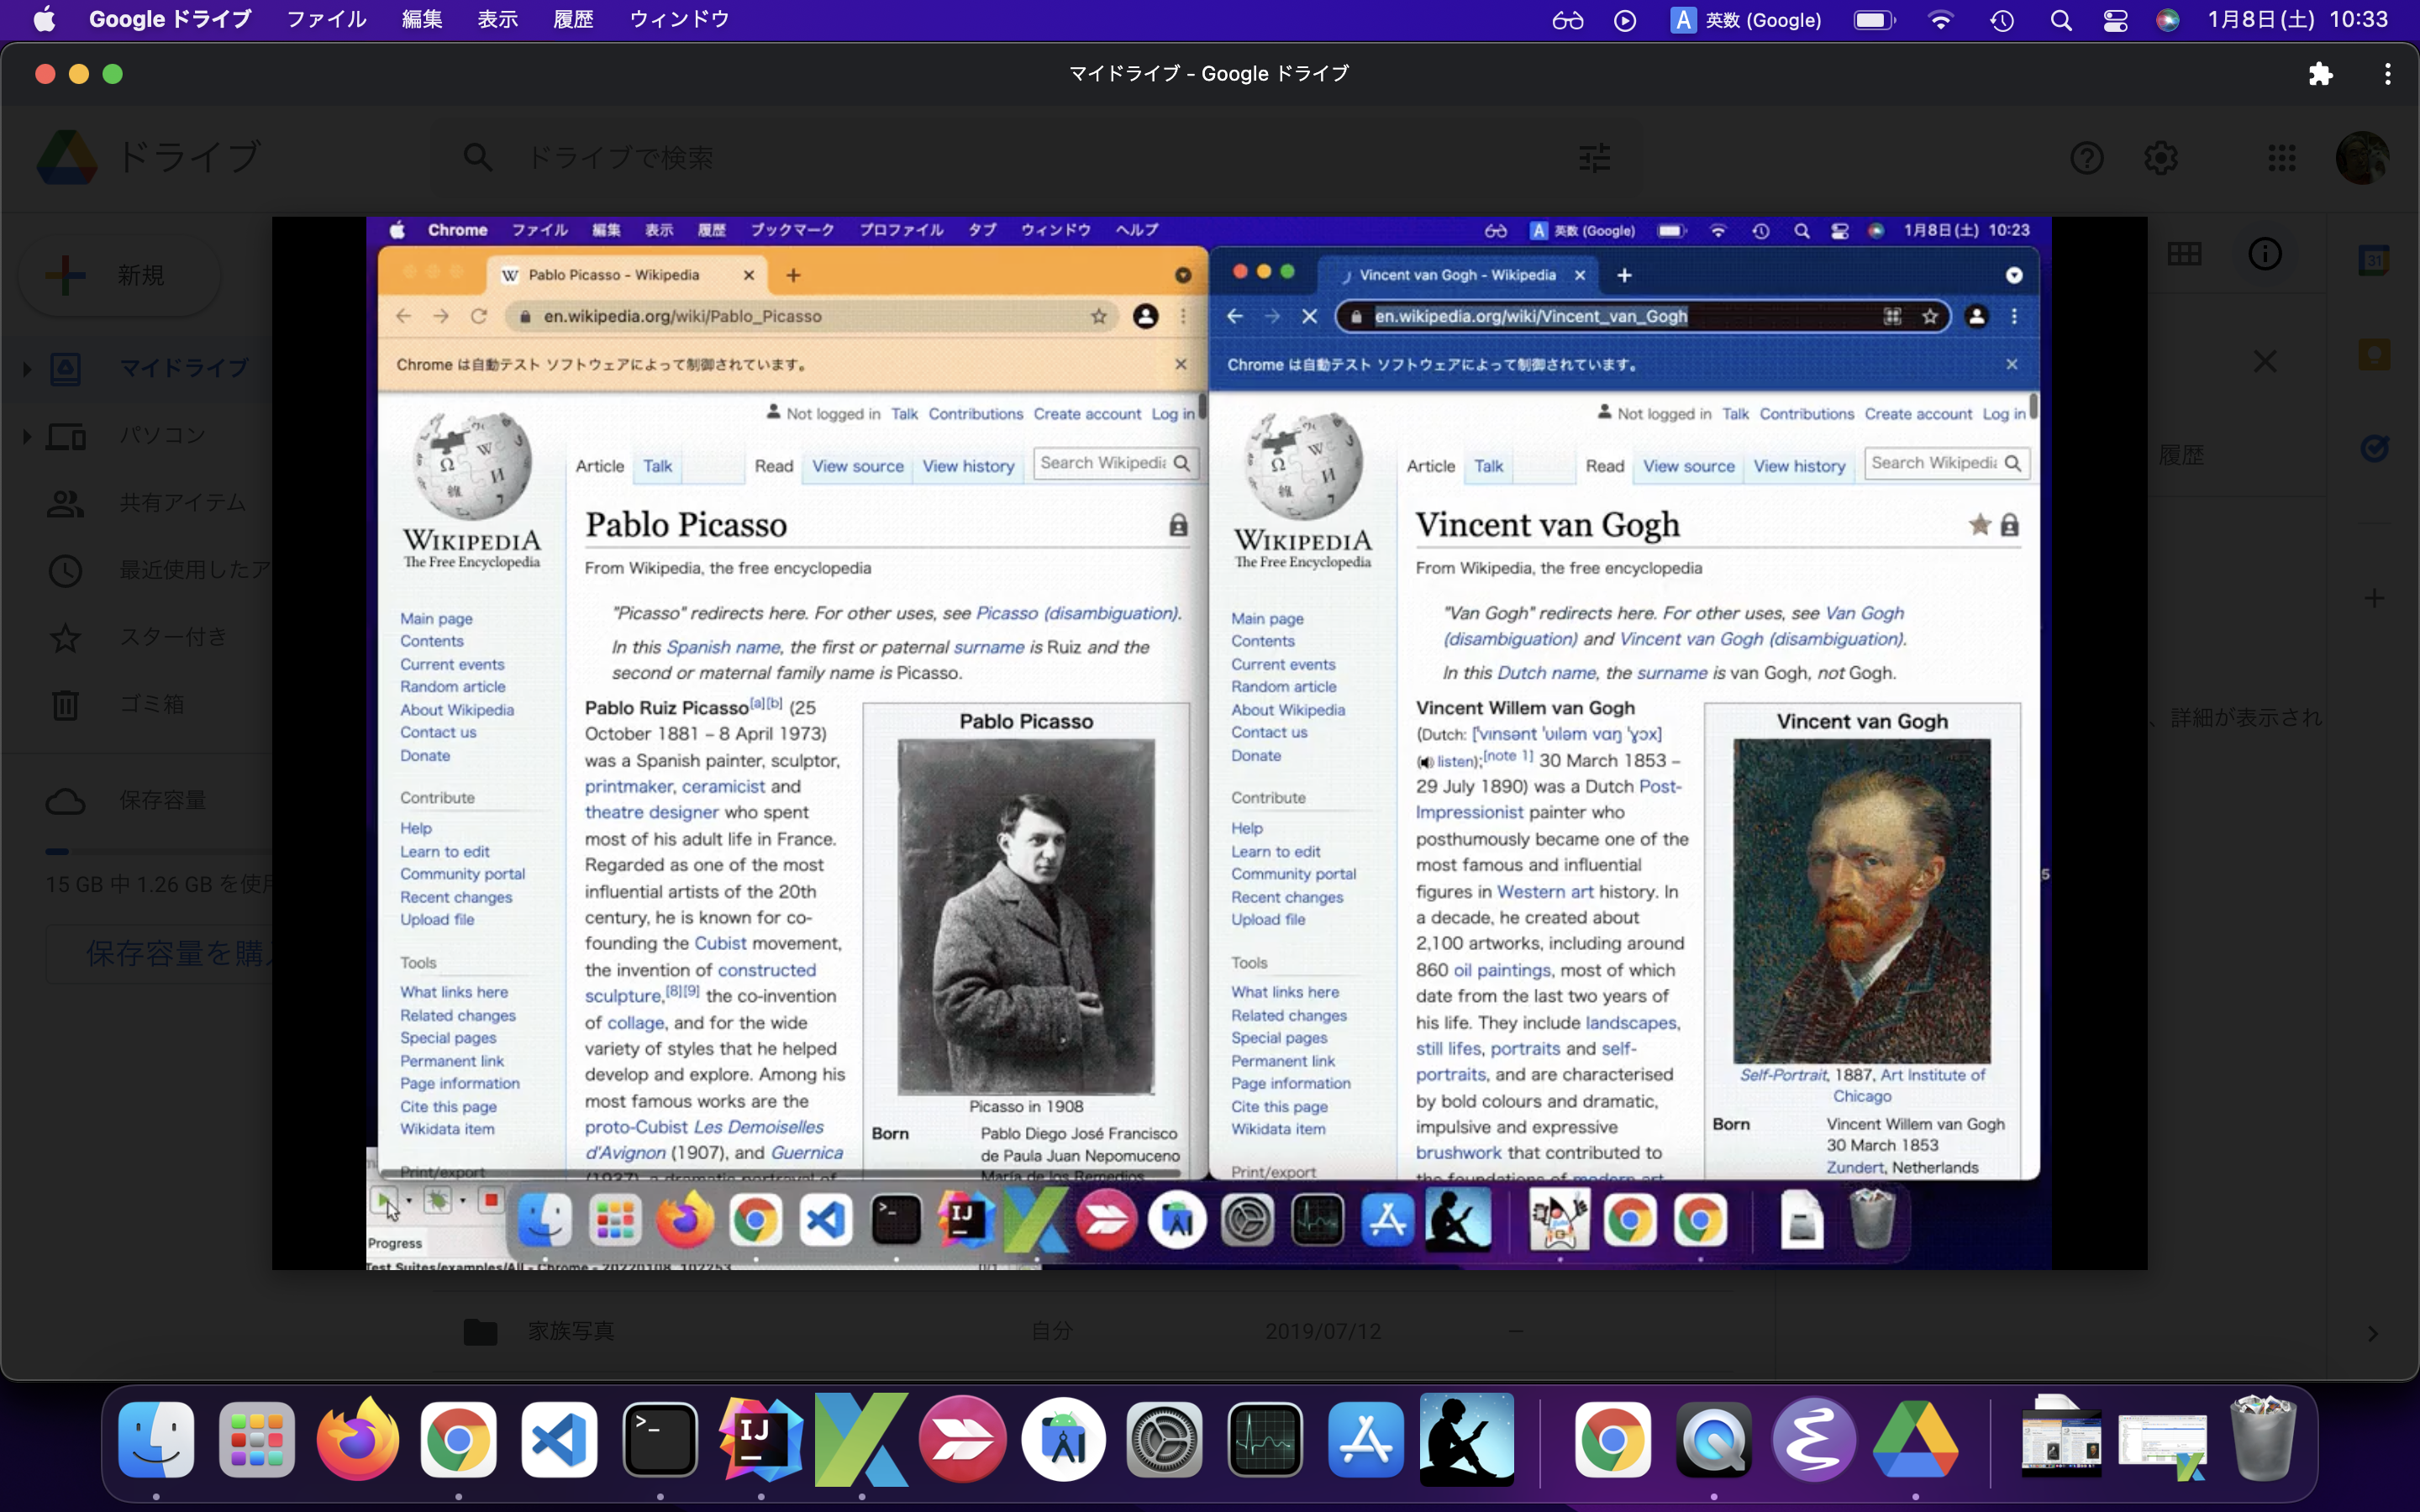
Launch Multiple Chrome windows in Tiling layout
package examples

import com.kazurayam.browserwindowlayout.BrowserWindowLayoutManager
import com.kazurayam.browserwindowlayout.TilingCellLayoutMetrics

import io.github.bonigarcia.wdm.WebDriverManager
import org.junit.BeforeClass
import org.junit.Test
import org.openqa.selenium.chrome.ChromeDriver

class LaunchMultipleChromeWindowsInTilingLayoutTest {

    @Test
    void test_open2windows_in_tiling_layout() {
        TilingCellLayoutMetrics layoutMetrics =
                new TilingCellLayoutMetrics.Builder(2).build()
        ChromeDriver driver0 = new ChromeDriver()
        ChromeDriver driver1 = new ChromeDriver()
        BrowserWindowLayoutManager.layout(driver0,
                layoutMetrics.getCellPosition(0),
                layoutMetrics.getCellDimension(0))
        BrowserWindowLayoutManager.layout(driver1,
                layoutMetrics.getCellPosition(1),
                layoutMetrics.getCellDimension(1))
        driver0.navigate().to("https://en.wikipedia.org/wiki/Pablo_Picasso")
        driver1.navigate().to("https://en.wikipedia.org/wiki/Vincent_van_Gogh")
        Thread.sleep(1000)
        driver0.quit()
        driver1.quit()
    }

    @BeforeClass
    static void beforeClass() {
        // setup the ChromeDriver binary
        WebDriverManager.chromedriver().setup()
    }
}
Here is a demonstration movie.
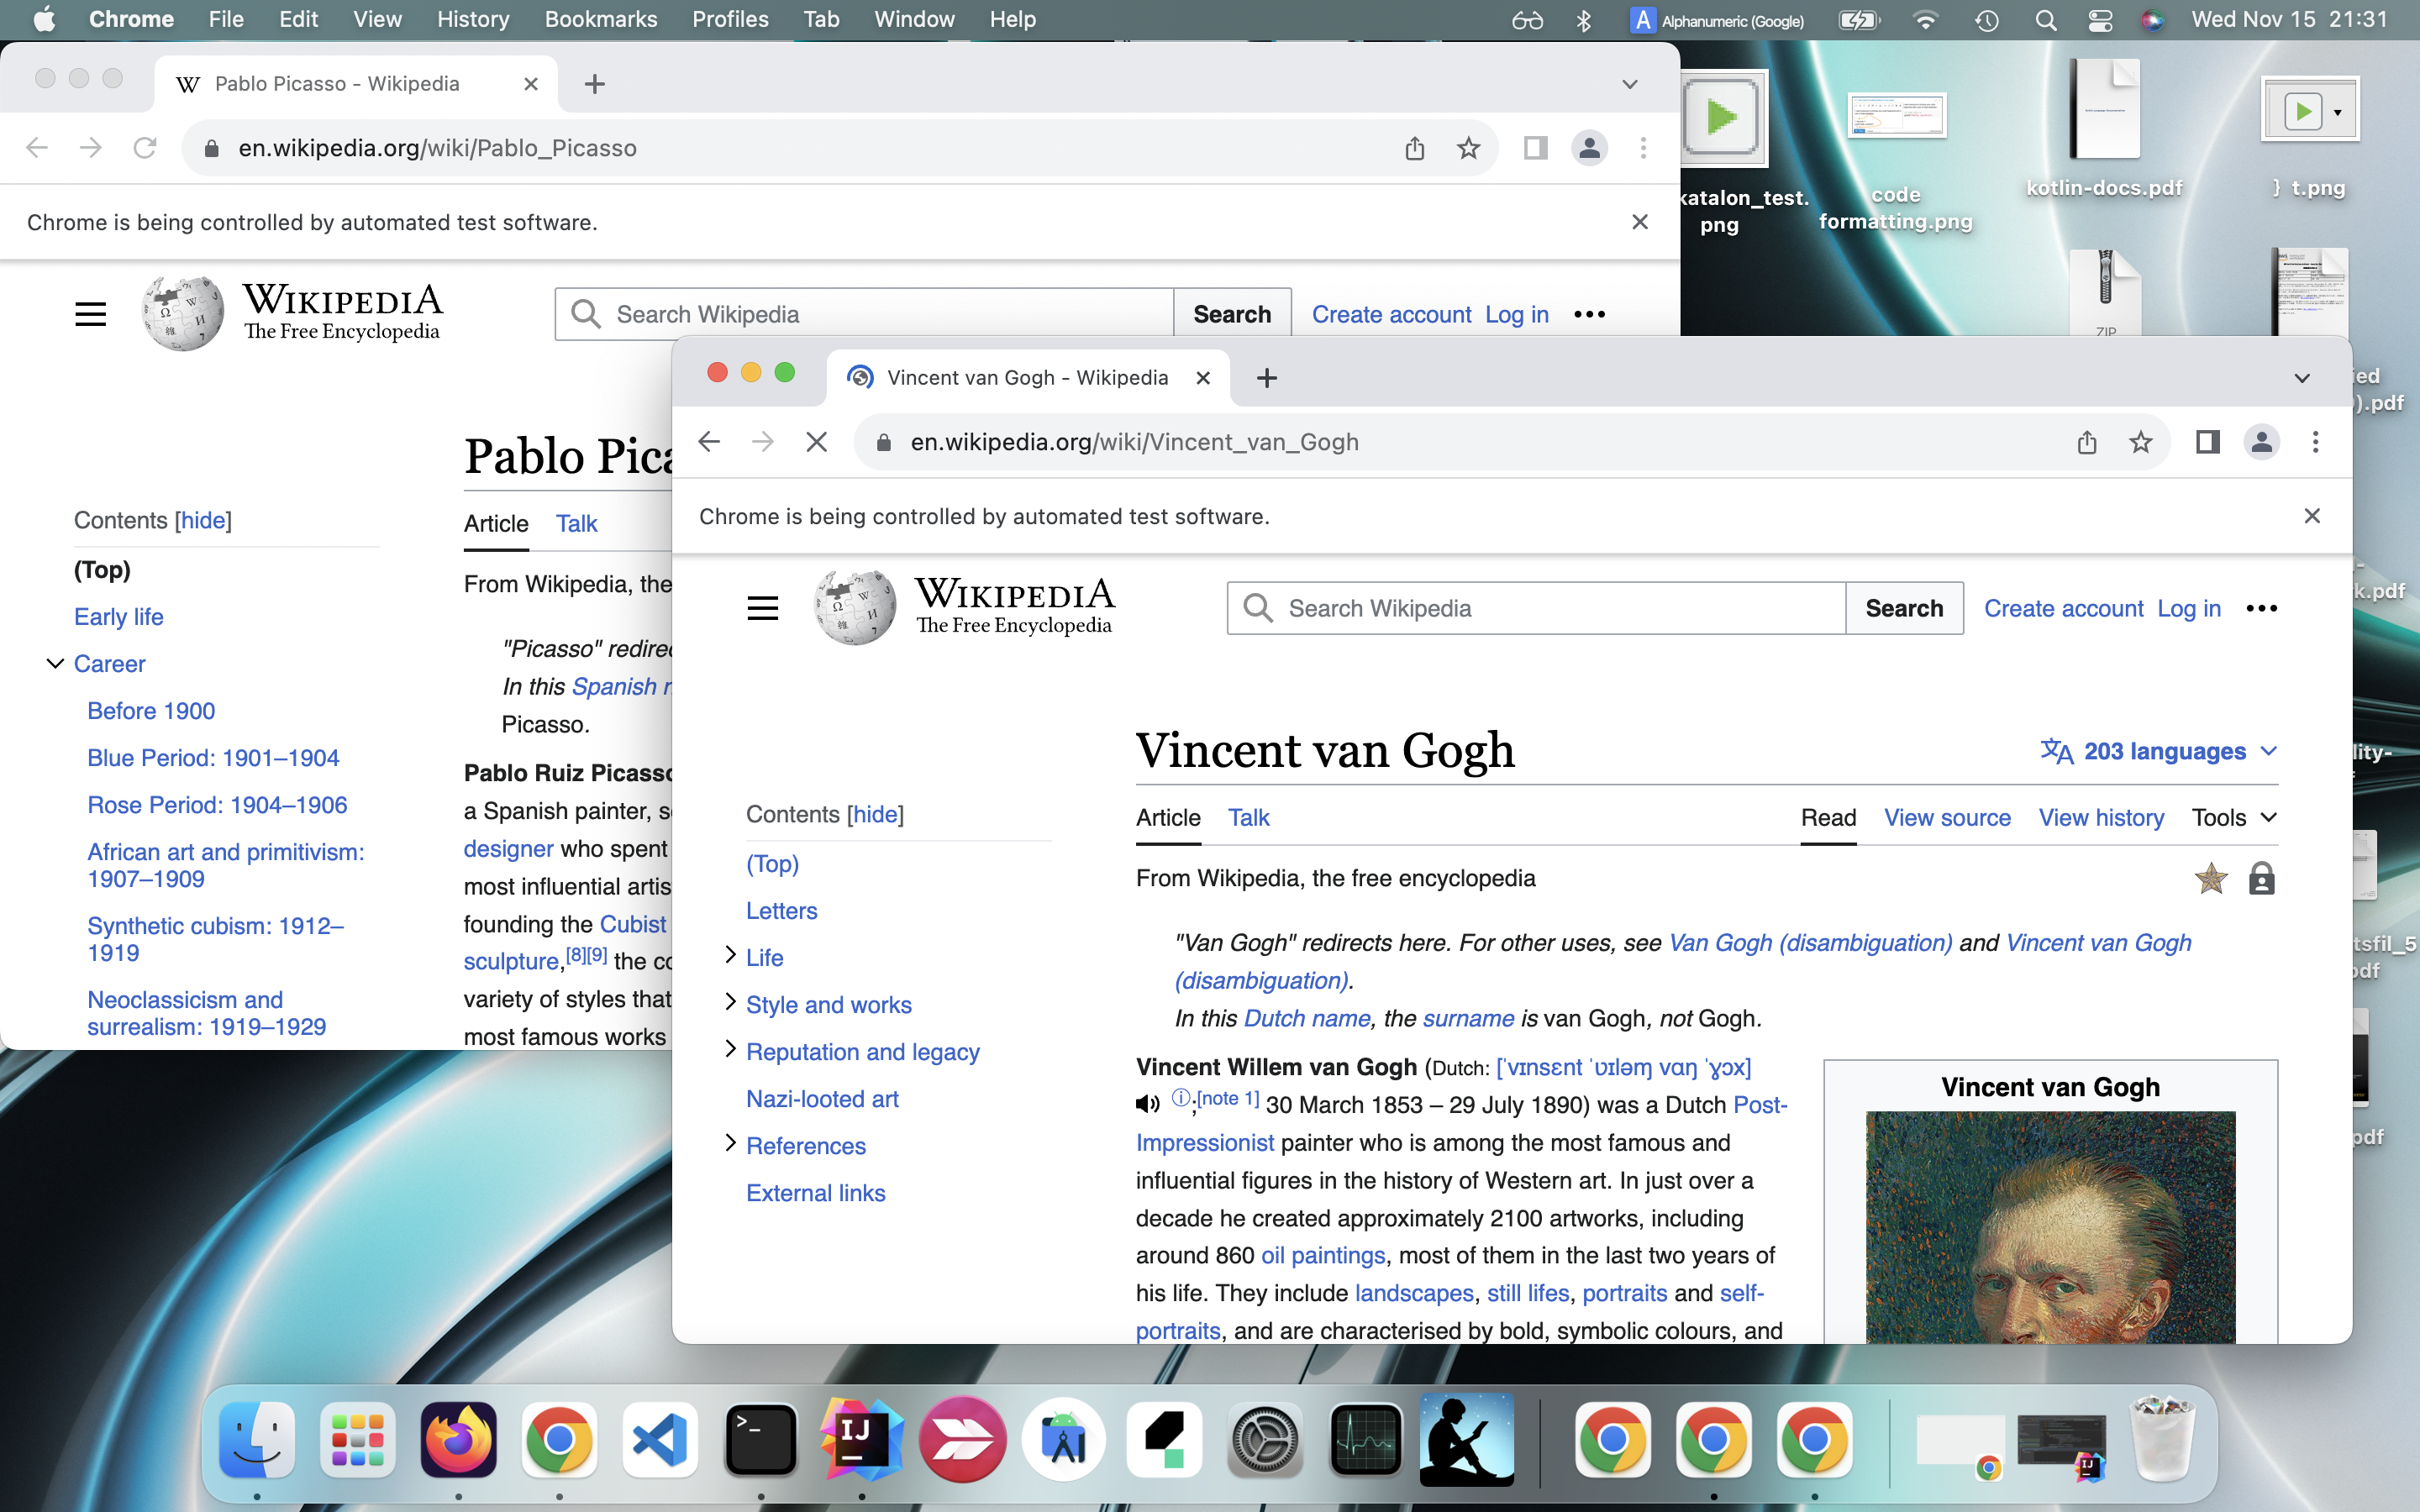
Launch Multiple Chrome windows in Stacking layout
package examples

import com.kazurayam.browserwindowlayout.BrowserWindowLayoutManager
import com.kazurayam.browserwindowlayout.StackingCellLayoutMetrics
import io.github.bonigarcia.wdm.WebDriverManager
import org.junit.BeforeClass
import org.junit.Test
import org.openqa.selenium.Dimension
import org.openqa.selenium.Point
import org.openqa.selenium.chrome.ChromeDriver

class LaunchMultipleChromeWindowsInStackingLayoutTest {

    @Test
    void test_open2windows_in_stacking_layout() {
        StackingCellLayoutMetrics layoutMetrics =
                new StackingCellLayoutMetrics.Builder(2)
                        .cellDimension(new Dimension(1000, 600))
                        .disposition(new Point(400, 200))
                        .build()
        ChromeDriver driver0 = new ChromeDriver()
        BrowserWindowLayoutManager.layout(driver0,
                layoutMetrics.getCellPosition(0),
                layoutMetrics.getCellDimension(0))
        ChromeDriver driver1 = new ChromeDriver()
        BrowserWindowLayoutManager.layout(driver1,
                layoutMetrics.getCellPosition(1),
                layoutMetrics.getCellDimension(1))
        driver0.navigate().to("https://en.wikipedia.org/wiki/Pablo_Picasso")
        driver1.navigate().to("https://en.wikipedia.org/wiki/Vincent_van_Gogh")
        Thread.sleep(1000)
        driver0.quit()
        driver1.quit()
    }

    @BeforeClass
    static void beforeClass() {
        // setup the ChromeDriver binary
        WebDriverManager.chromedriver().setup()
    }

}